Showing posts with label the world around us. Show all posts

Tuesday, 1 May 2012

composter bin

For the next months I want M. to get to know and understand how nature works and what must be our contribution to nature. I was waiting for a bit of sunshine after all this rain to get starting with our gardening projects: first of all make a little home made composter bin, to teach M. that nothing in nature goes to waste and how composter is so important for plants and that she can make a contribution to the cycle of nature. We made the composter bin in a small scale just to start off. A small containers with holes, some soil on the bottom of the container and as many vegetarian left over as possible, I covered ours with cardboard.
Now she is aware that potatoes, carrots peels, egg shells, banana skin etc are all good to make compost and she is always remember to fill up the composter bin! Of course she knows that compost is good food for plants, so we must grow a few plants to give the compost to. As last year we got growing veg, but this year I want to add a couple of new friends: we already have quite tall tomatoes plants (4), we have already eaten our spinach and lettuce and already seeded for more of them and iceberger lettuce, we then prepared to have green beans and cucumbers.

Monday, 20 February 2012

Traffic signs

M. is showing great interest in everything around us, she asks me about signs and traffic rules. She knows what the traffic light different colour lights stand for, so I asked her to help me making a traffic light and other simple traffic signals to play around the house.
We created a cardboard bus and there you have it a crative learning journey.
The signals I used are: parking, no entry, left turn only, stop and the traffic light.


Saturday, 23 July 2011

living insects museum

Children are never too small to learn, actually is when they are small that they learn the most thanks to their huge curiosity and their open mind, which absorbs everything they see and experience. A small child is never tired of learning, and learning doesn't require any effort, it is between 2 and 6 years of age that children should be guided to discover any thing about our world...too often this extraordinary ability of learning is under estimated and wasted.
I can see how M. is able to learn and understand many things related to the environment, nature and the world.
Today I guided her curiosity for the natural world to the museum of the living insects. We saw a huge number of insects, from the one we see every day, to the esotic species, we saw reptiles and spiders. We saw insects that look like leaves, sticks, big and small. We saw how ants build their nests underground, and how bees work inside an hive. We saw some fossils and she asked me to explain what they were, I did and she was pleased with my answer.

Ants' nest underground


Thursday, 23 June 2011

bees

We are looking at bees now.
M. and I read a very interesting and simple book about bees. it is called The Bee and is in a series in First Discoveries. I have also bought other titles in the series because I found them to be explained very well for little children.
We then went and observe bees in the park. We looked at the flowers and touch the pollen.
This is an art and craft work we made. We used cartboard from yougurt packages to make the hive.
M. had the idea to draw a bee larvae (what she calls baby).


Sunday, 5 June 2011

mini beasts hunts

We went to this fascinating mini beasts hunt event taking place in the local country park. M. enjoyed it so much...it seemed impossible but for more than an hour she went around the area looking at every leaf, flower, stone etc to find some sort of insect, then she would put it into the container with the magnifing glass (the ranger gave one to all the children) and then run to the ranger to show her findings!
Of course, all the names of all these different insects didn't mean anything, but sure, the fact that you can find so many different insects in a small area of grass meant everything!


We also went to hunt for some rabits and just have a jolly good bike and tricycle ride around the paths of the country park!


Saturday, 21 May 2011

gardening updates

Our gardening flowers/veg experiment is going good. We had a good amount of strawberries, which M. is able to pick, wash and eat by herself; she has been very keen on observing and caring for the plants, and she is very happy to be able to collect the fruits of her work. The tomotoes and cocumbers are growing fast, no flowers yet but I am hoping. Flower bubls have turned into leaves, so now it is just a matter of waiting, we'll probably have some flowers in July.


The caterpillars have grown a lot and they were very hungry caterpillars. The last two weeks I had to change their leaves very 2-3 days and the poor bush where I was getting their leaves couldn't cope with it; I had to try to offer them another kind of leaf, which luckely they liked. Now one of them has turned into a crysalid, other two are working on it. I only have two left which are still eating away.
The transformation happened quite quickly. It started making a kind of spider net, then the next morning he has already inside its coocon which lays on this net. The coocon was yellow, then it turned to orange, when I looked at it in the late afternoon it was black!


Saturday, 16 April 2011

THE VERY HUNGRY CATERPILLAR

Almost anyone knows that caterpillars turn into butterfly, many children are aware of this thanks to Carle's "The Very Hungry Caterpillar"...but how many of us has actually seen a caterpillar turning into a butterfly? I haven't!
Now, I had this idea in my mind since I saw a children's book that explained how to make a caterpillars' house and how to care for them to see them turning into butterflies. I thought it would be very interesting if we could do that.
It took a while before we found a caterpillar: we went hunting in parks and fields, but no sign of caterpillars. I read somewhere that caterpillars like parsley, and I thought to give it a go because I was becoming quite eager to find one. If all failed, I was thinking to buy them from Insectlore, which are expensive but come with their house and food plus a cilindrical shape net where to put them when they are crysalids and then keep the butterflies for a few days.
then one morning, by chance I found one on a leaf of a bush in front of the bulding door...then I lifted my eyes and there were other 2 hairy ones...another one was a very tiny green hearless one! I rushed inside, took a plastic box, called my daughter to come and see! We collected them and a good bunch of leaves and took them inside. Then I made a home for them.
A few days leater I found two eating my flowers! Now we have 6 caterpillars!

HOW TO MAKE THE HOUSE

- a big plastic box or a old fish tank
- a small conteiner to put the leaves and some water to keep them fresh
- the leaves from the plant you found the caterpillars on (it is most probably their food plant)
- some soil
- 2-3 sticks
- a muslin or a paper tissue pierced to make air passing through


Do not touch the caterpillars with your bare hands, some can give a rush! Always use the leaf they are on to move them, or touch them with a leaf on their back and they will move forward.
make sure that the container with the water for the leaves isn't too big, cover all the spaces with some cotton wool or tissue paper to avoid any caterpillar falling into the water.
Some caterpillars make a pupa on a branch (that will be your stick) others under ground (that is your soil)
put the soil in the box, then the container with the leaves + caterpillars and then the sticks. Cover it with a muslin or a paper tissue.
Make sure you do not expose the caterpillar to the hot sun. they like the shade.


You will see lots of droppings and some pieces of skins on the leaves or on the soil. that's because every time they grow they also outgrow their skins and need to replace it!
Replace the leaves when the caterpillars have eaten most of them, or they wither.

Have a good time observing them!

Friday, 25 February 2011

WORM FACTORY

This is a fun-science activity for children to understand what worms do and how they help to mantain the soil rich and help the flowers and plant grow.

You need:
- a glass jar
- some sieved soil
- dead leaves
- earth warms
- a dark cloth

1) hunt for some worms with the children (they must be big mature warms!), 4 or 5 should be enough
2) put them in a container with the soil you found them in
3) get your jar
4) fill the jar with one layer of about 3cm of soil, then spray some water and fill the jar with another 3 cm of soil, spray some more water, leave only about 5 cm from the top
5) put your warm in the jar
6) cover them with the leaves
7) cover the jar with the dark cloth and put it in a dark place

After a couple of days go and observe the jar. there should be worm tunnels, you should see some leaves dragged into the soil.


When you have finished the observation relise the worms in the garden...the soil they where housed into will be very nutritious for your flowers!

Tuesday, 15 February 2011

World project

I didn't have the time to write, nonetheless we have been very busy with all our activities and project.
M. is now attending a Montessori nursery 2 mornings a week, at home I am trying to keep the nursery routine, even if ours is more relaxed! I am doing "circle-time" where I teach numbers, shapes, colours, and different topics in a fun way, we also have "story-time" and if M. is up for it "music and sing time".

I have been working on my world project. I found Montessori children and foods cards on e-bay for real cheap, then I added some of my own, found in magazines and real photos we took of people and food we encounter every day. I have also took M. twice to events about world food where we also could taste some of it, even if M. is not always quite keen!

It surely made her aware of differences and similaraties between herself and other children, it also made her aware that people from different part of the world do not live or eat the same food as us. She found this topic very interesting and she often looks at the pictures.


I have also made the Europe puzzle, but this one was more difficult to make than the World Puzzle, didn't come as good, and because there are so many pieces, it is also quite difficult for Muhajiza.

Tuesday, 7 December 2010

WORLD PROJECT

This is a huge project I have in mind. It will take time and effort to make but it will teach M. so many things about the world, its geography, people, cultures, animals and other things.
I got the inspiration from a world puzzle I saw in a Montessori classroom, which brought my memories back of when I used to work on it as a young child.
It is so difficult to find a world puzzle or is so expensive, so I thought I could make one using a very cheap poster of the world.
I bought two posters from the 99p shop.

MATERIALS:

2 world posters
utility knife
a thick card board the same size as the posters
glue


1. Start by laying one of the posters over the card-board
2. Keeping the poster firmly still, cut around the borders of every continent, making sure that the utility knife is also cutting through the card board.
3. you should obtain the cut out continents, their exact shape in card board, a world map without continents and a cardboard with empty continents shapes.
4. glue the cut out continents to their card board shapes, and put aside
5. glue the world poster without continents to the card-board, making sure that they perfectly match
6. glue the second poster to the cardboard so that its continents are visiable through the cardboard cut out continents shapes.
7. colour the back of each continents piece with the Montessori world colours (Africa: green; Europe: red; Asia: yellow; Australia: brown; North America: orange; South America: pink)
8. to make the puzzle last longer you could laminate the continents pieces or use sallotape instead.


Once the child is quite confident in putting together the puzzle and can recognize the continents, you can start witht the second part of the project.

ANIMAL WORLD PROJECT

Get lots of pictures of animals living or originated from differnt continents. Stick them on same size card boards.
Colour the back of the card boards with the right colours of the continent the animal belongs (for example tiger:yellow, zebra:green). Some animals can be found in different continents like the wolf or the owl, these while have more then one colour at the back.
At first show your child all the animals, tell him what they are.
Then place each animal on the right continent.
Eventually your child will be able to place all the animals on their right continent. The colours at the back are a control measure where your child will instantly know if he has placed the right animals on the right continent by turning them around and look at their colours.


Next I am planning to do the same thing with pictures of mothers and babies from differnt cultures, then with food and landmarks.

Friday, 26 November 2010

trees and roots

After a long time here we are again. it will be hard to summarize all we have done in these months, but I will try to write at least the most interesting activities.

BOTANICS
Muhajiza showed an interest in trees. I explained to her the parts of the tree and made a model for her to understand the roots and the importance of rain and sun for the tree and its fruit to grow.

First I made her put her hands and wrists on a sheet of paper and draw with a black pen around them to make the trunk and the branches of the trees; then I draw only her hands again on another paper to make roots. In this way she understood that roots are like branches but underground! I cut the around the "roots" and glued them on the wrists of the first paper.


I then I made the leaves and fruits by sticking around the branches pieces of green, pink and purple rolled paper (green for the leaves, pink for the unriped black berries and purple for the riped black berries).


To hide the roots underground, I coloured green a rectangular paper of the same lengh of the paper where the trees are. Then I put it on top of the roots and sticked it with a long piece of tape. In this way the roots are hidden and when the green paper (grass) is lifted you can see the roots.

On the left corner of the poster I cut a rectangular with an utility knife. I prepared a circle and drew on it on each side a sun and a rainy cloud. I then inserted in the rectangular hole.
Each day M. will look at the weather and turn the wheel either to show the sun or the rain, both of which are useful to the tree and the berries.


Sunday, 1 August 2010

EVERY THING BEAUTIFUL

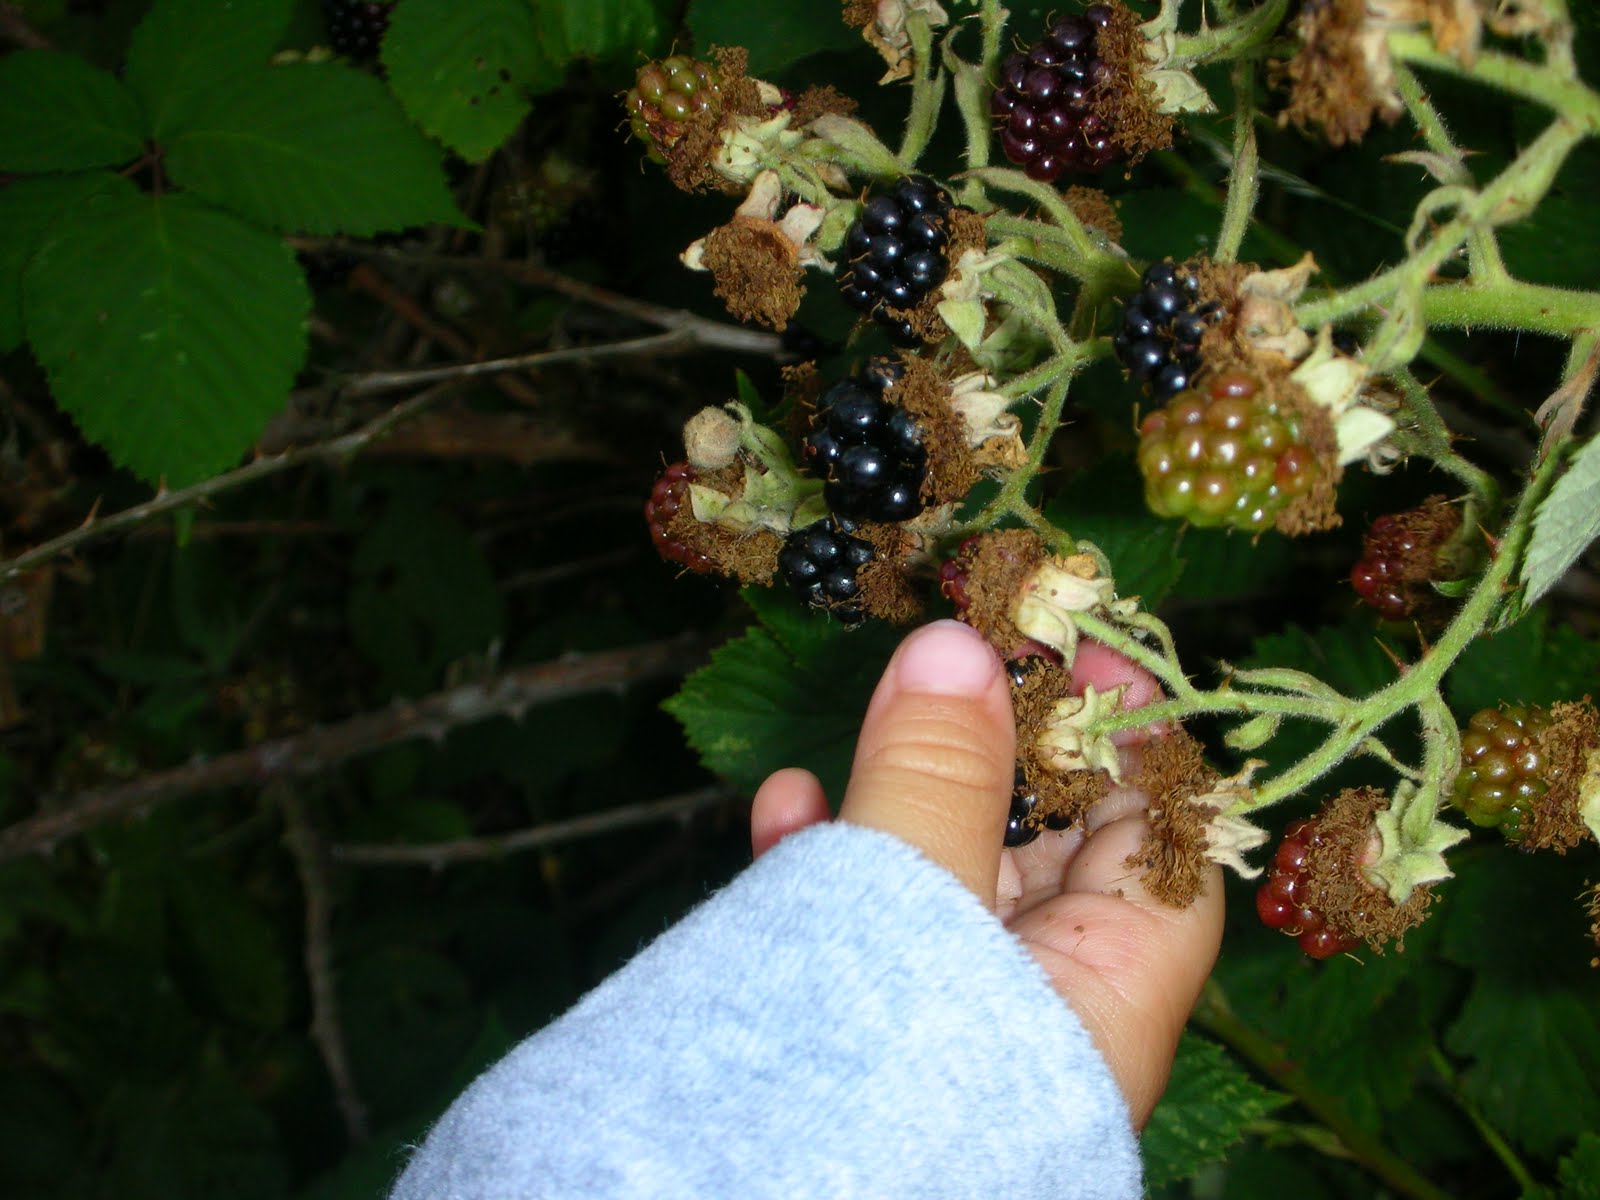
Oh lovely summer is here...we have been on holiday back to our origins. M. learnt so much there about where the fruit and vegetable come from. She became independent on picking strawberries, basil leaves, berries and helped me with other vegetables such as courgettes, aubergines, green beans. We ate so much fresh picked fruit, and M loved it so much. Back in London we kept the good habits and went to the country park to pick some black berries and we also discovered trees of sweet cherries and even peas!
We ate lots of berries and cherries and I also made jam, which she still enjoyes on a melba toast for breakfast.
I have also bought a basil plant and made pesto with the leaves M. picked for me, she also helped me prepare it. It is very good that she understand how fruit and vegetable grow and how we can make delicious things from them in a very simple way.
She is also developing a better understanding of how nature works (the plant needs sun and water and the fruit will ripe with time and with a good deal of sunshine), and grow an emphaty for our world.


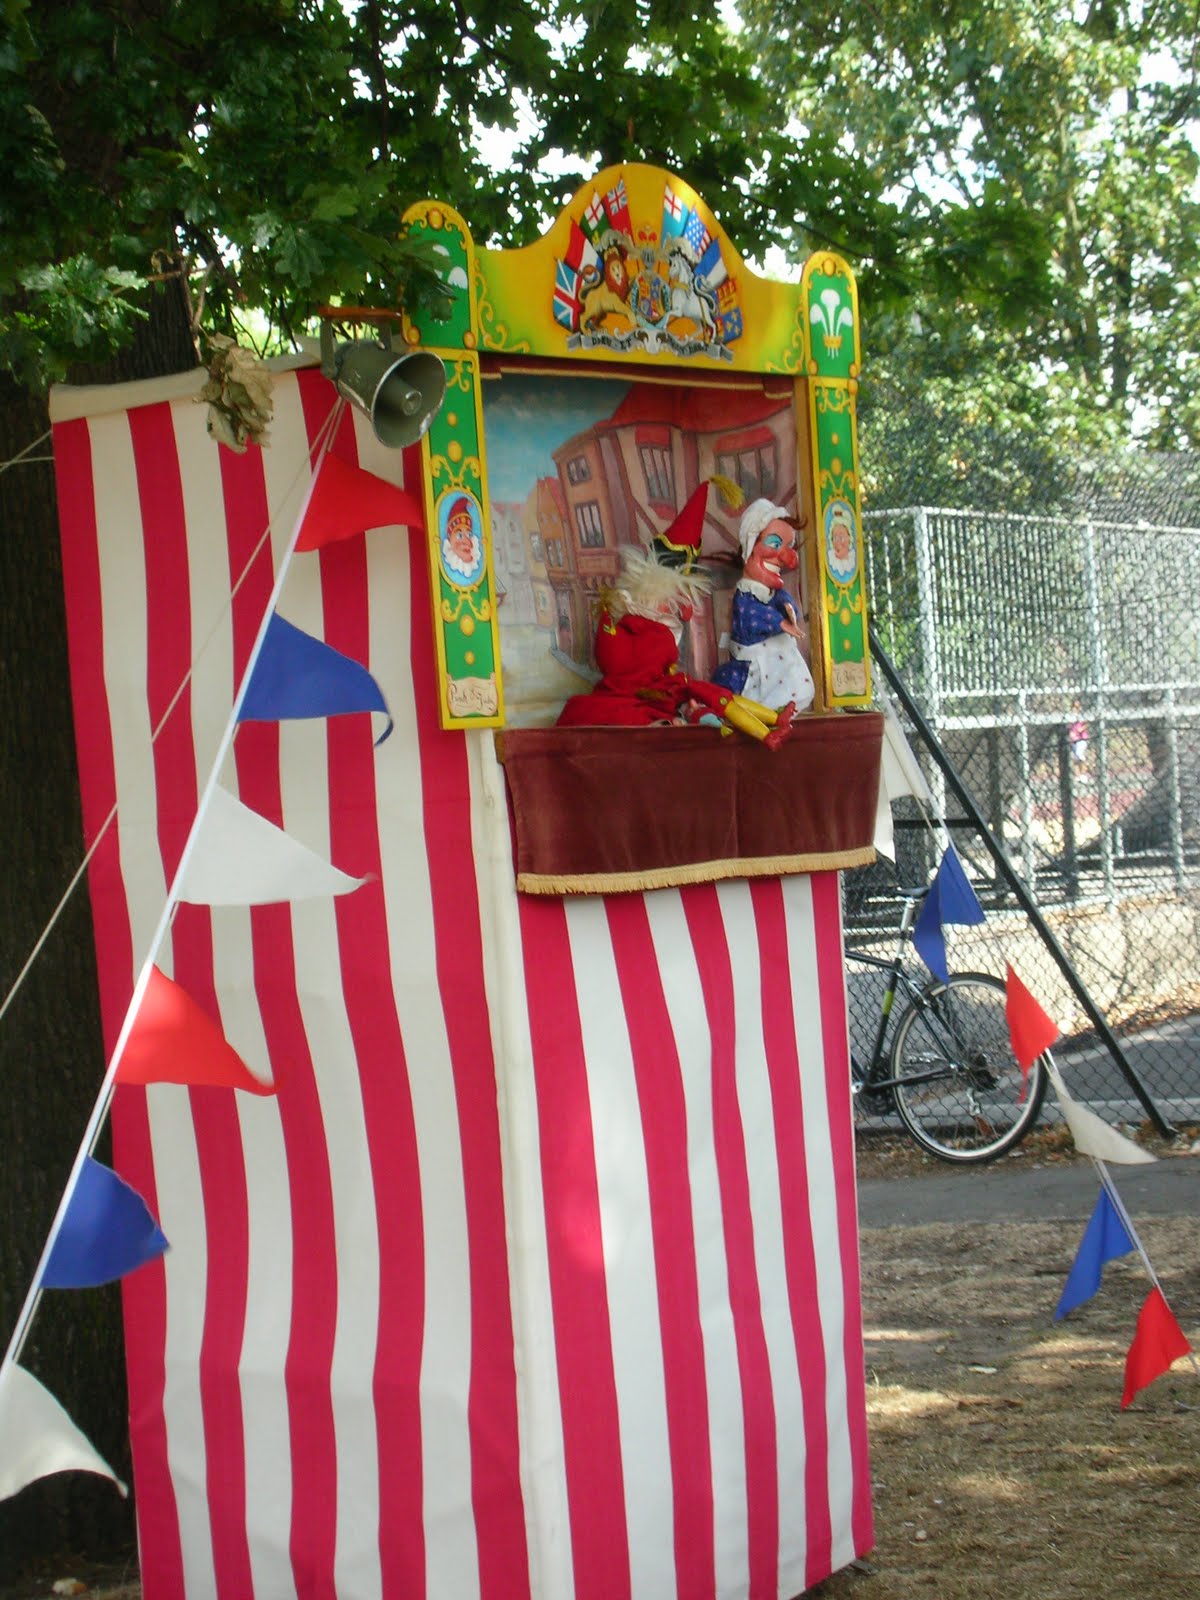
We are also enjoying parks very much. Our bourogh is organizing various activities for children around the local parks, and even if there isn't much sunshine, we are having lots of days out, we even watched a puppet show, have face painting and made lots of art and craft, all of this for free!


Oh yes, I forgot! M. became so good with her potty traing that she was keeping herself 90% dry in matter of 2 weeks from the start of the training. After 1 month and half (cause of timeing issues) she got her scooter. She now keeps dry even at night!

Monday, 24 May 2010

Mudchute farm

Summer is her at last!

We made a trip at Mudchute farm where M. can see farm animals, feed them and even touch them and run after them. It is a lovely place where you can really feel like in the country-side.
M. had lots of fun! There were small lambs free on the meadow and she was running after them to stoke them, eventually she cracked the tecnique and managed to successfully touch quite a few of them.
It was a really sunny and hot day. We had a pic-nic with our friends and then a little stroll to make all the little ones sleep.
There is also a small play-ground where they had time to play when they woke up from their nap.


MESSY PLAY

I put some rice on a oven dish and gave M. some containers and spoons to play with it. She put the rice in and out the containers, she tried all the different size spoons and enjoyed this activity for quite a long time.